Montée par InTheRiffle
Voir les matériaux au fur et à mesure des étapes de montage.
Noter l’astuce qui consiste a présenter les poils de cervidés pour déduire sa longueur et de couper l’excédent avant montage.

Montée par InTheRiffle
Voir les matériaux au fur et à mesure des étapes de montage.
Noter l’astuce qui consiste a présenter les poils de cervidés pour déduire sa longueur et de couper l’excédent avant montage.
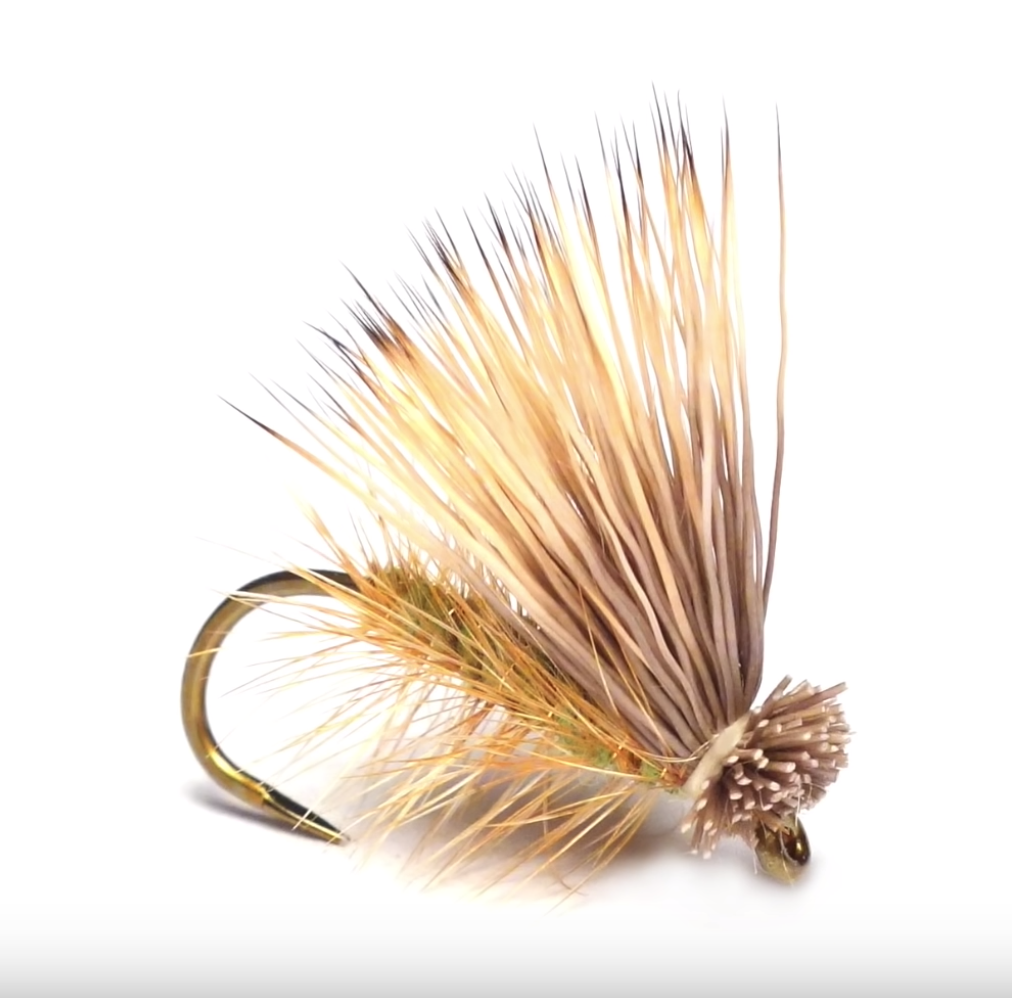
Montée par Down By The River - Fly Tying Videos
Matériaux:
Hook: Gamakatsu F11B
Body: Dark Hares Mask Dubbing
Ribbing: Brown Hackles
Wing: Elk Hair
Noter que ce montage est plus classique et épuré que la Elk Hair Caddis. En particulier couper des fibres du hackle sur le dessus pour dégager de l’espace pour l’aile. C’est logique car la flottaison sur la surface s’opère avec les fibres de hackle du dessous de la mouche.
Décliner cette mouche en différentes couleurs y compris peut-être la couleur de l’aile en poils de cervidés par coloration à l’aide de marqueurs.

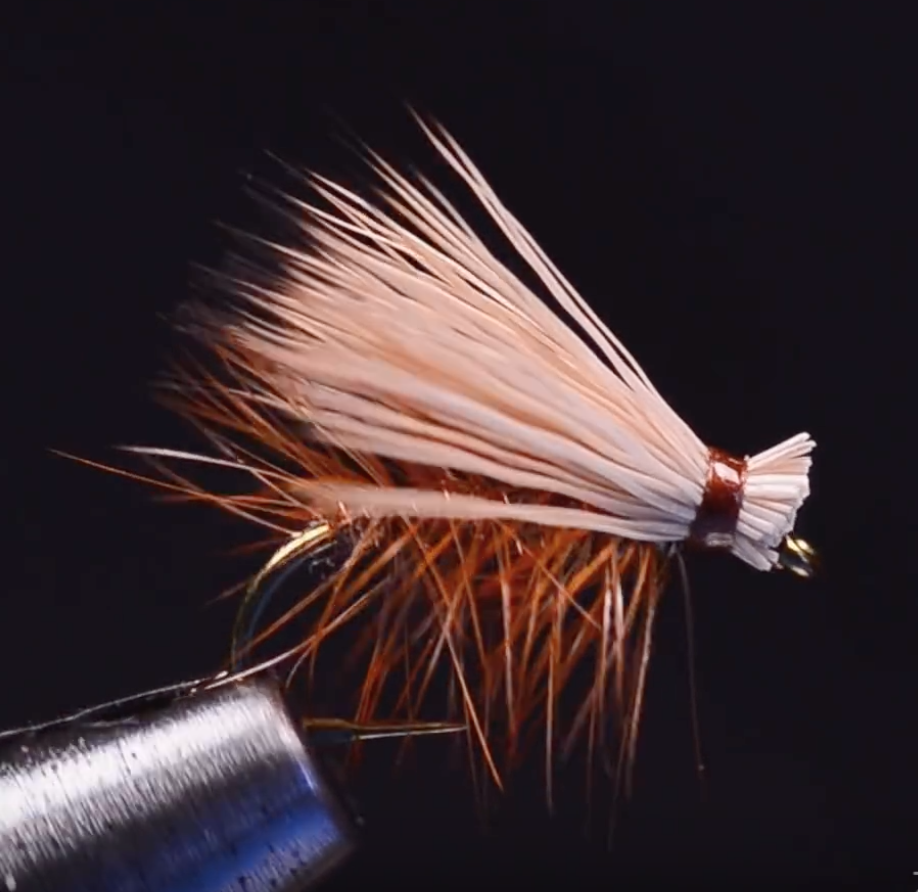
Montée par Charlie's Fly Box
Matériaux:
Hook: #10-22 TMC 100 SPBL
Thread: Brown Veevus 14/0
Rib: Extra Fine Copper Wire
Body: Superfine Dubbing, Color of Choice
Hackle: Brown Rooster Neck
Wing: Elk Hair, Cow or Bull
Notes de l'auteur:
The Elk Hair Caddis brings us into the world of dry flies. Dries are more proportion dependent than nymphs as the proportions affect the way the fly sits on the water. The body taper and diameter, the hackle size and density and the length and density of the wing are all things to keep in mind. Make the body no thicker than one-third the gap width, and tapered from back to front. Hackle that is too large or dense makes the fly appear bigger than it really is. Hackle serves two functions on this fly; flotation and the appearance of legs. Caddis have only six legs so it doesn't take many turns to fulfill this requirement. More importantly, hackle serves as outriggers to support the fly on the surface of the water. Six to eight evenly spaced (palmered) turns of hackle create more than enough surface area while still letting the body shape and color show through. I size the hackle (over the dubbed body) so it is equal to one to one and a half gap widths. If it is too large the fly looks bigger, too short and the fly may float on its side. Flies intended for calm, flat water over selective fish suffice with less hair than the same size fly meant for heavy pocket water. For heavier water, I use as much hair as I can securely attach to the hook (be sure to thoroughly clean all the under fur and short hairs out of the clump before stacking it). As a rule of thumb, the right amount of hair when compressed will be equal to the diameter of the body. There is some room for interpretation in regard to the length of the wing. Anywhere between one and one and a quarter shank lengths seem about right to me. If I make the wing any longer the fly appears too big. I fish the Elk Hair Caddis a few different ways. Dead drifting under bank side vegetation can have great results, and I have found that skittering the fly a bit brings out the predators. It seems as though trout can't resist a bug that is trying to get away and this skittering really rings the dinner bell. One reason caddis are such a staple menu item during the summer months is that trout see so many of them. Caddis fly off to the bushes along the stream bank after hatching and live there for some time. At this point, they become, essentially, a terrestrial insect. Breezes blow these bugs into the water and the trout are on the look out for them. There doesnt have to be an actual hatch in progress to clean up with a caddis. This pattern also has a wide "foot print" on the water. It creates a larger dimple in the surface film that seems to make it more apparent to the fish, so even when they're not looking, the caddis really stands out. For flat water, I often omit the hackle and wire rib on this fly so it will ride lower on the water and create a more realistic silhouette. The Elk Hair Caddis was invented by the legendary Montana guide and fly tier, Al Troth.
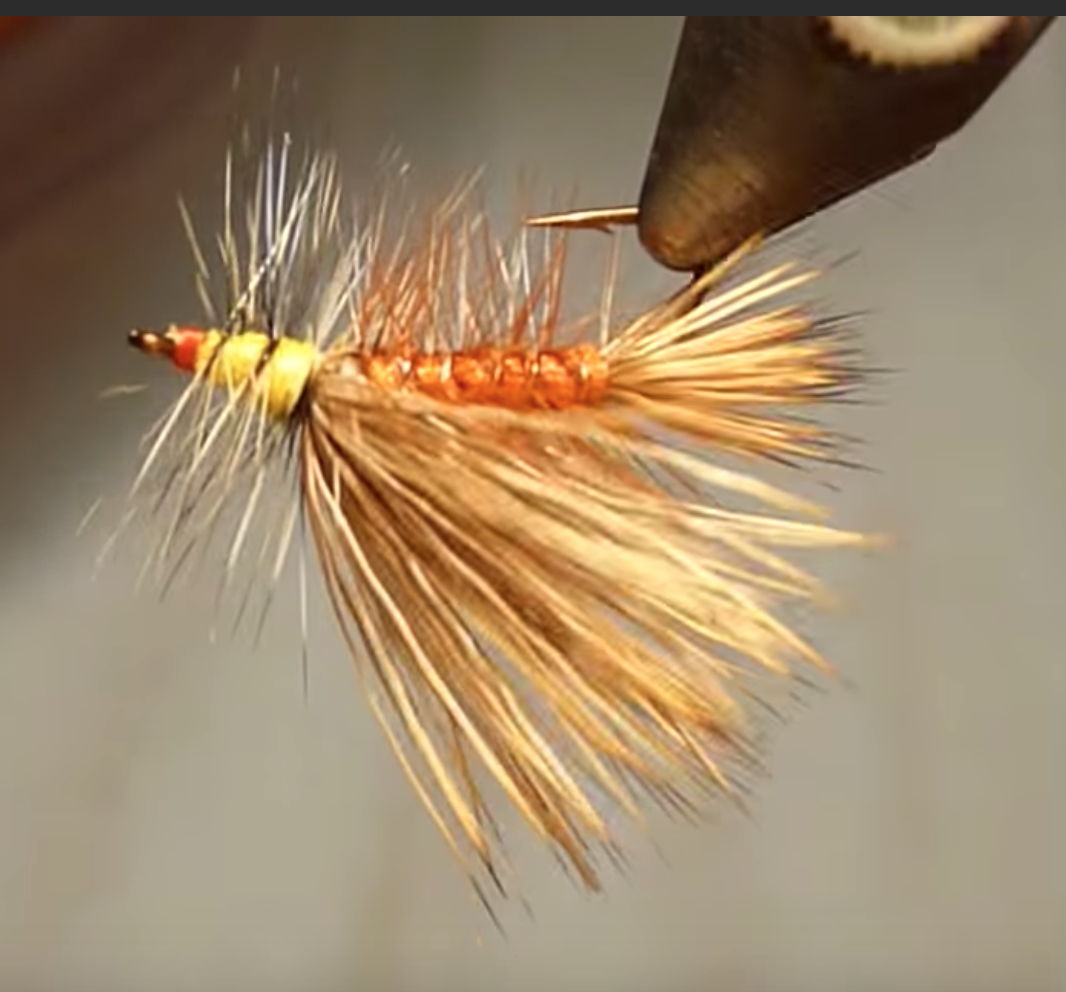
Traduction souhaitée?
Similaire au Stimulateur (Stimulator). Flotte très bien dans les eaux rapides. Montage du corps en palmer roux. Monter le hackle roux en queue plutôt qu’en tête de mouche est sans doute mieux et permet un cerclage avec le fil de montage plutôt qu’avec le fin fil de cuivre qui ne s’impose pas (sauf si on veut ajouter de la brillance au montage sachant qu’en principe il ne se voit pas puisqu’il s’agit d’une mouche sèche qui flotte haut, donc hors de la vue du poisson).
Noter qu’on peut monter cette mouche avec différentes couleurs et différents mélanges de couleur (gris, noir, roux, jaune, olive, etc...)

Montée par Mak
Voir les matériaux au fur et à mesure des étapes de montage.
Mouche insubmersible, grâce au corps en mousse et l'ajout des poils de cervidés.

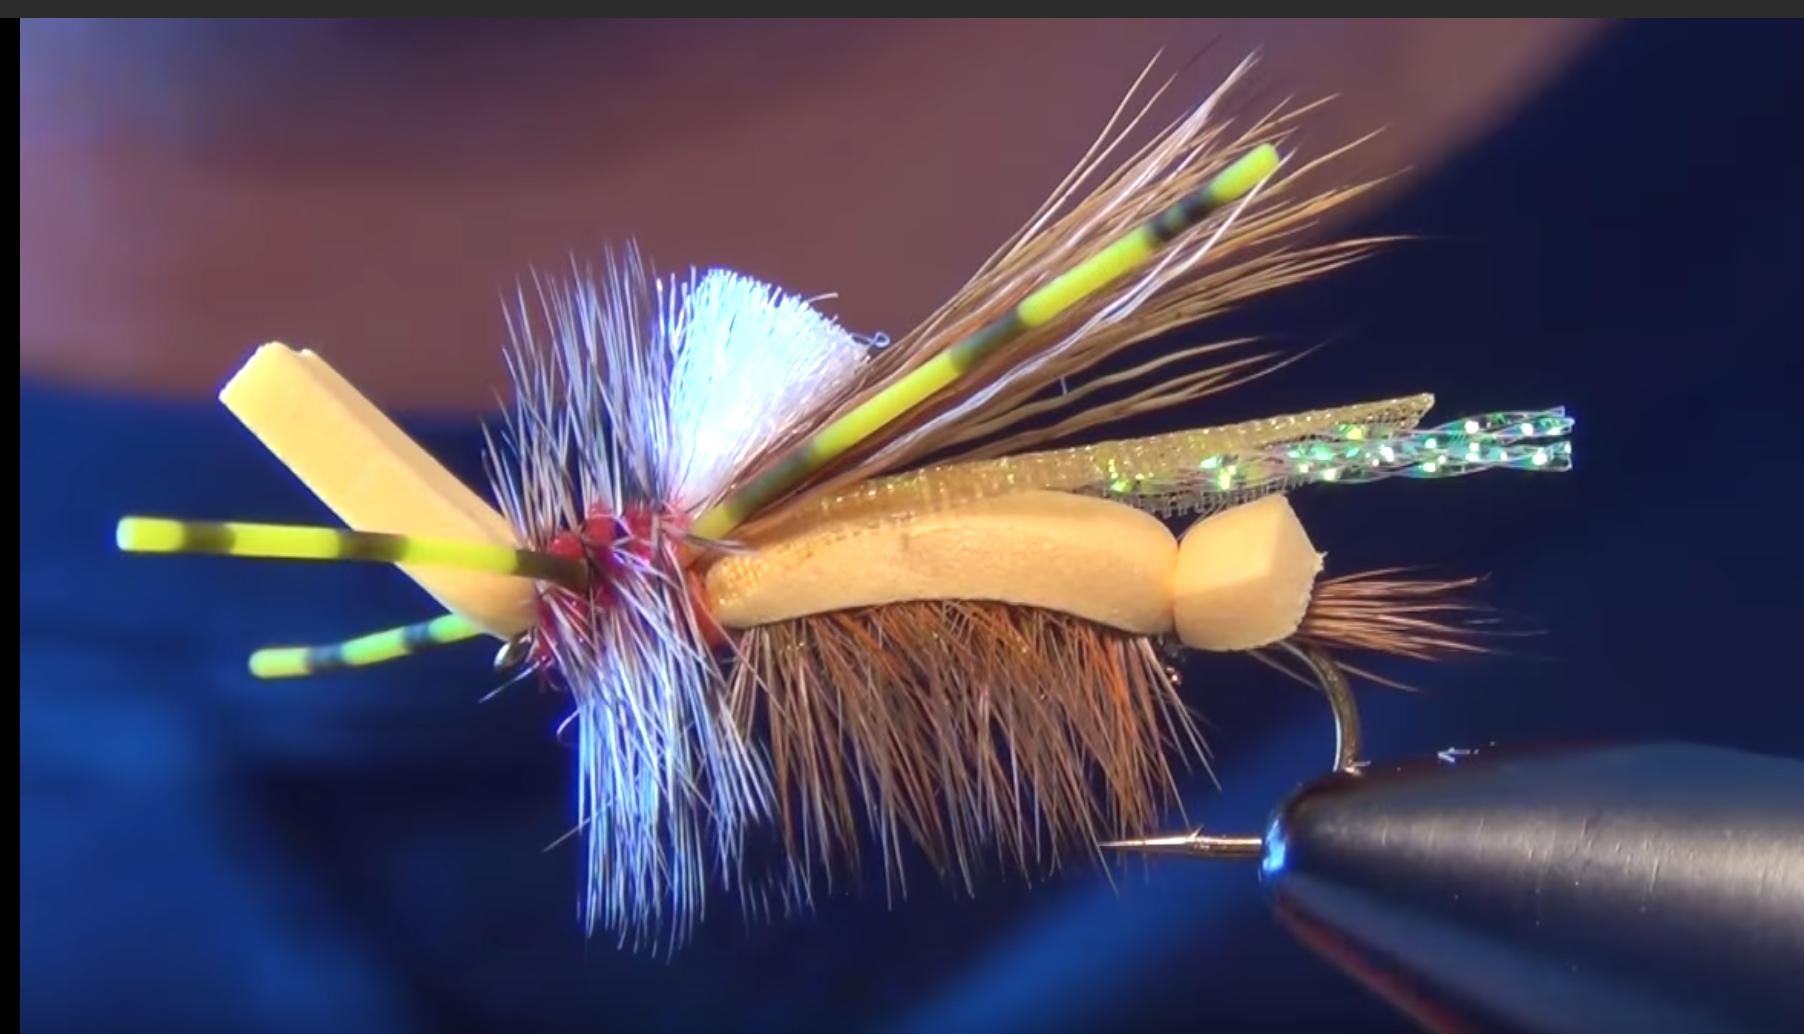
Montée par InTheRiffle
Matériaux:
Hook: #04-10 Tiemco 5212
Thread: Orange Veevus 14/0
Tail: Golden Brown Dyed Deer Body Hair
Back: Gold 2MM Thin FoamRear
Body: Golden Brown Ice DubbingRear Body
Hackle: Brown Whiting High and Dry Rooster Cape
Flash: Pearl Krystal Flash
Underwing: Yellow Web Wing
Overwing1: Golden Brown Dyed Deer Body Hair
Overwing2: White McFlylon or Poly Yarn
Legs: Yellow Medium Grizzly Barred Rubber Legs
Head: UV Red Ice DubbingHead
Hackle: Grizzly Whiting High and Dry Rooster Cape
Notes de l'auteur: The Foamulator is a foam version of the classic stimulator pattern. The main difference in the Foamulator (compared to the classic stimi) is the foam back, rubber legs and Ice Dub body. The Foamulator can be tied in several different color combinations such as, Black, Olive, Red and Tan. In this video I am tying the Golden color. This color imitates a golden stonefly and also makes for a good general attractor pattern. This is a great hopper dropper pattern. The extra foam helps keep this fly riding high and very visible!!
Traduction souhaitée?
Explications pour le montage à base de mousse de la mouche Stimulator.
Plutôt destinée pour la pêche en réservoir et aux truites arc-en-ciel car plus flashy. Censée représenter une mouche de pierre, sans les pattes peut imiter un trichoptère adulte.

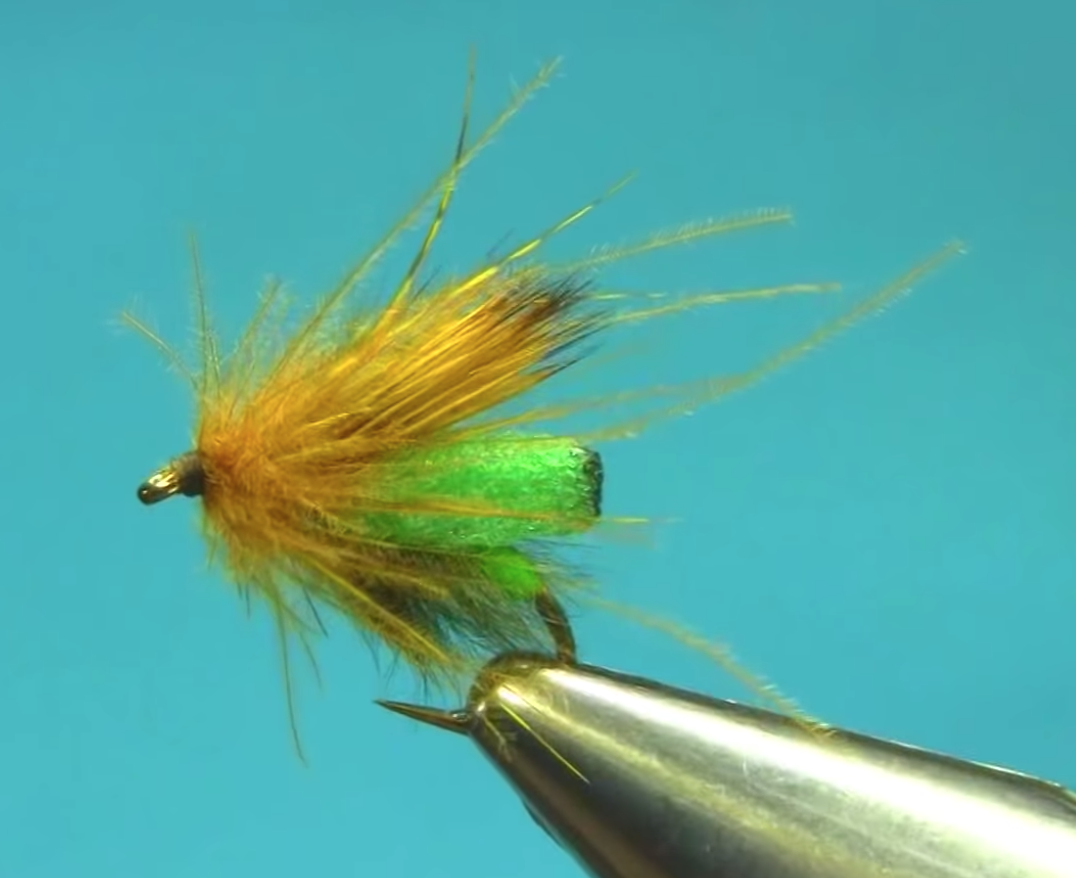
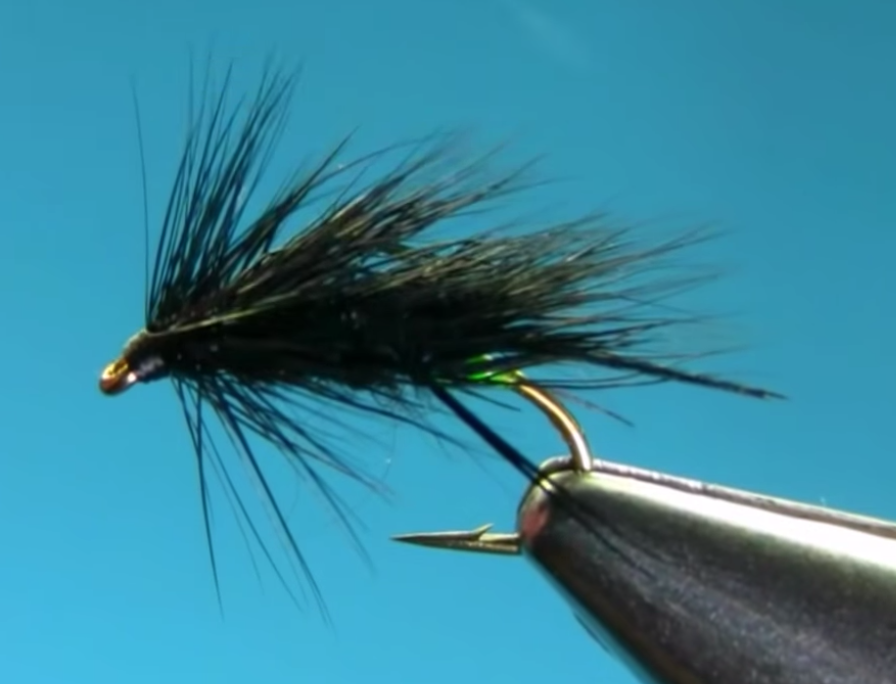
Montée par winonaflyfactory
Voir les matériaux au fur et à mesure des étapes de montage.
Autre modèle intéressant à base de mousse pour une encore plus grande flottaison. Et toujours ce cerclage en fil de cuivre.....Peu justifié, préférer le fil de montage moins lourd ou un fin fil métallique de couleur.
Noter que dans ce modèle la tête en poils de cervidés ne dépasse pas et s’arrête avant pour laisser la place à un montage de tête en mousse jaune. L’utilisation de la mousse est ingénieuse car cette mouche doit pêcher en surface et elle devient insubmersible dans les rapides.

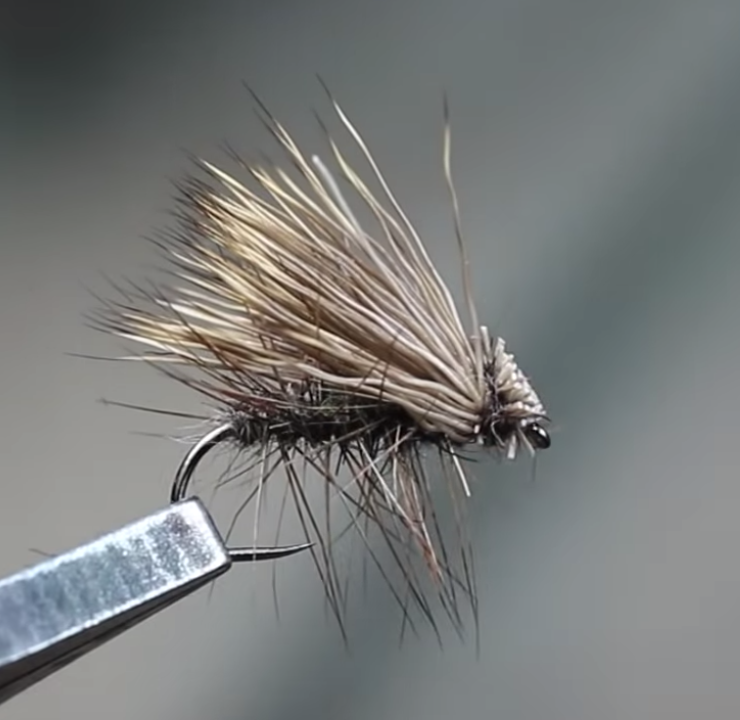
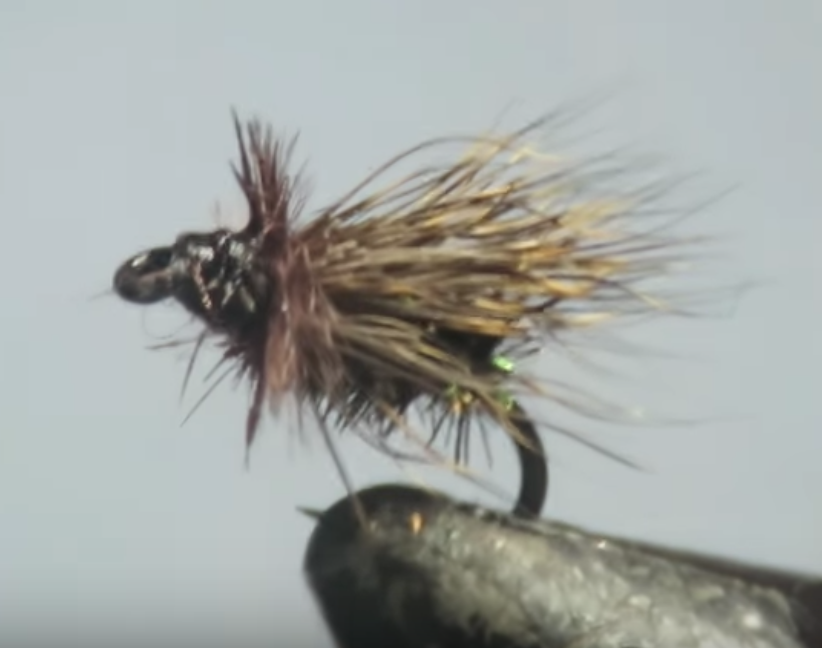
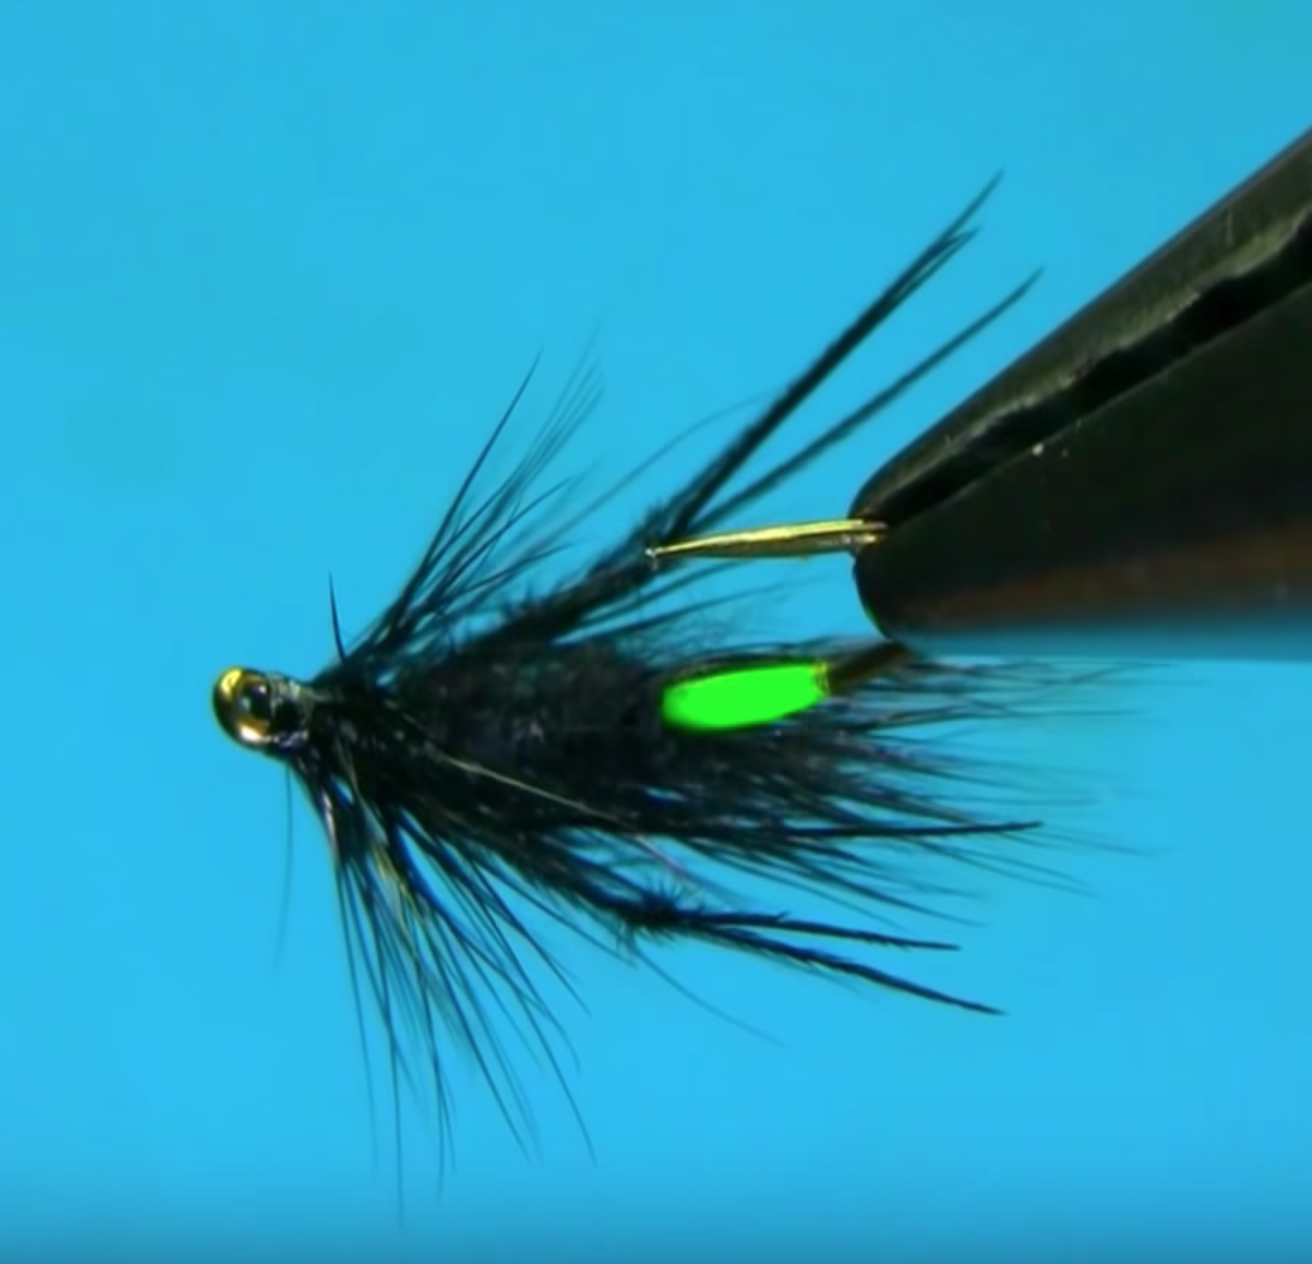
Montée par thatdamnmackem
Matériaux:
hook - size 14 wet
black Uni thread 6/0
single strand black peacock herl
natural deer hair
ostrich herl-brown
Notes de l'auteur:
The deadly peacock caddis has been my most productive fly for the past 2yrs, it has caught trout when everyone else was blanking. Fish it stationary in flat calm water. If there are fish cruising nearby just under the surface but not taking off the top, give it a short 3" tug to sink it as the fish approaches and hang on. Traduction souhaitée?
Intéressant pour eaux rapides bien que l'auteur donne une astuce pour pêcher en eau calme. Montage simple et classique. Le herl de paon devrait être consolidé avec du fil de cuivre ou métallique en noir, vert, violet, cuivre ou marron par exemple car il est fragile. Faire un modèle avec hot spot vert ou orange en queue.
Voir le montage du hackle de cervidé et la manière dont il coupe l’excédent. La tête est mieux dégagée que dans d’autres montages. Je n’aime pas les têtes de cervidé hirsutes.
Voir la position de la mouche sur l’eau.
")
Montée par Mak
Matériaux:
Hook 12-14 ,
Thread Black 8/0 ,
Body Black Deer Hair & Seals Fur ,
Knotted Pheasant Legs ,
Black Cock Hackle
Ajout d’un cul vert en spot vernis à la résine UV. Mouche pour l’été et l’automne. Peut imiter une mouche de cuisine.


Montée par Damien moretti
Voir les matériaux au fur et à mesure des étapes de montage.
Noter que pour gagner en épaisseur le sous-corps peut être monté en laine. Trop de détail. Compliqué. Les antennes ne me semblent pas indispensables.
")
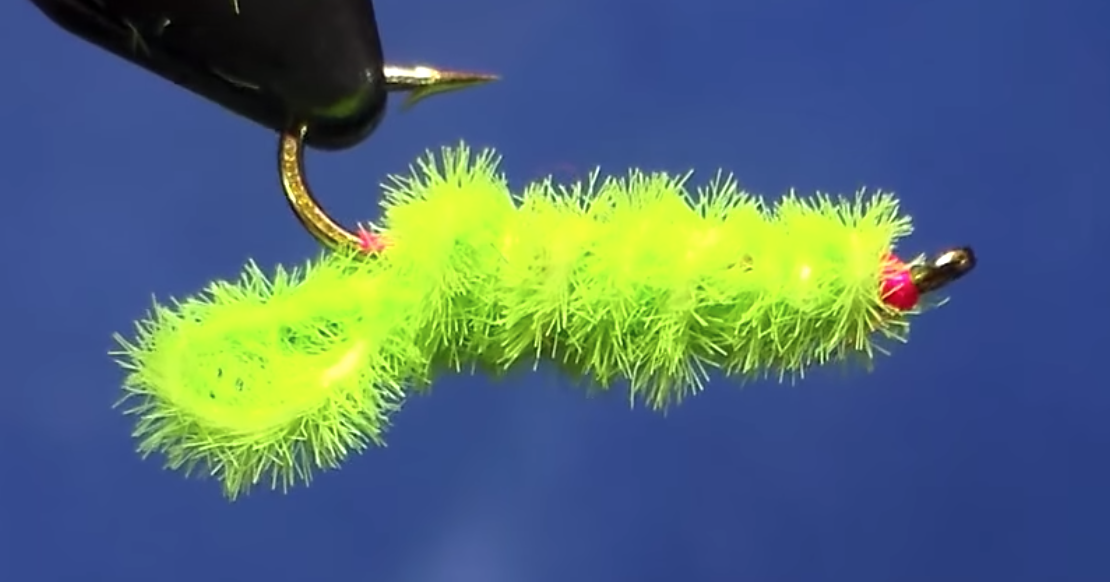
Montée par Toxic Flies
Voir les matériaux au fur et à mesure des étapes de montage.
Autre modèle monté avec de la chenille.
Utilisation de fil de montage fluorescent rose en guise de spot. N'est peut-être pas assez lestée pour pêcher à fond.

